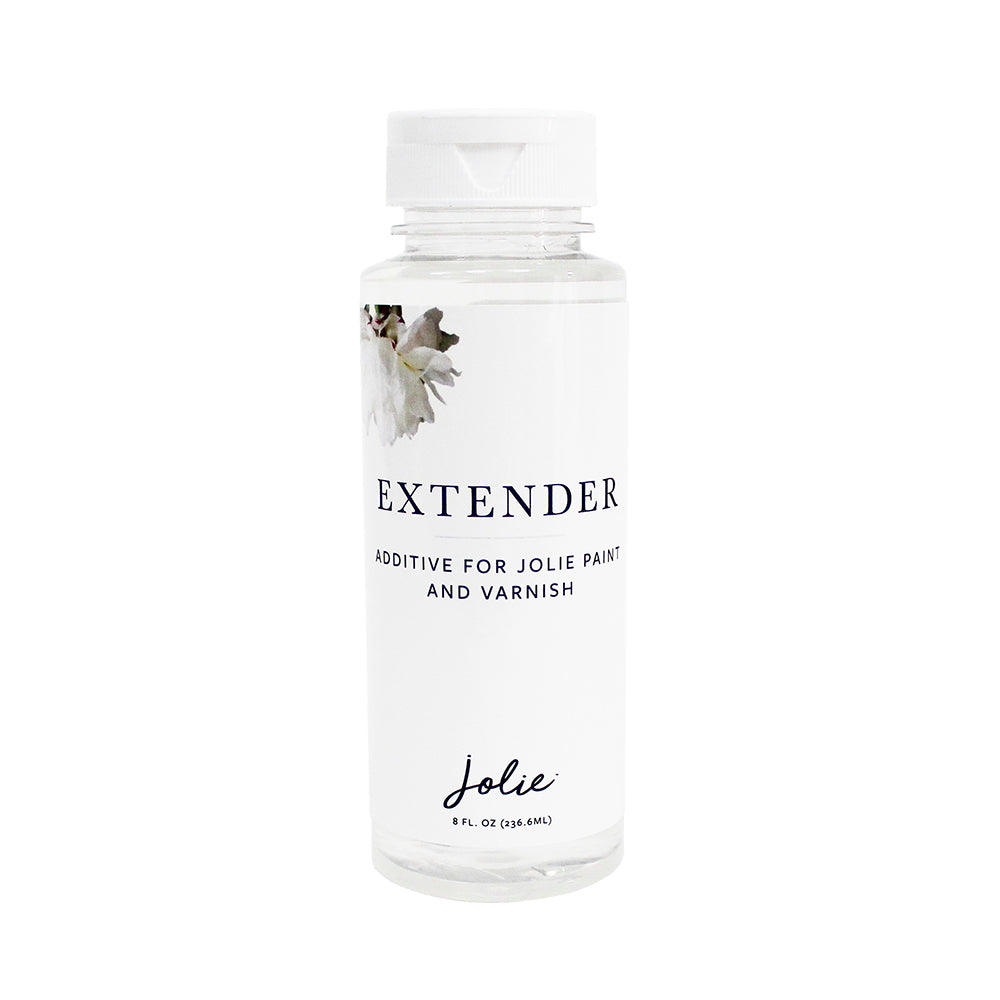
Jolie Extender is a translucent liquid that mixes with Jolie Paint to increase open time and create custom glazes. It's ideal for finishes where Jolie Varnish is the desired topcoat, as it will allow you to layer colors and add depth to your painted finishes without the use of colored waxes, which can't be used under Varnish.
Jolie Extender can also be added to Jolie Paint and Varnish in smaller amounts to increase flow and level, minimizing brush and roller marks and making it easier to achieve an ultra-smooth finish.
Read on for step-by-step instructions for how to use Jolie Extender.
Tools & Materials
-
- Jolie Extender
- Jolie Paint in color(s) of your choice
- Jolie brushes or paint sprayer (depending on desired finish)
- Jolie Varnish
- Lint-free cloths
To Create Glazes
Step 1:
Working on a clean surface, begin by applying your base-coat of Jolie Paint. This is the color that will show beneath your glaze. For full coverage, you will likely need to apply 2-3 coats.
For a more textured look, apply using a Jolie Signature Brush, painting in every direction to leave subtle brush marks and slight texture. For a smoother finish, we recommend using a Jolie Flat brush and working in the direction of the wood grain. For full instructions on how to achieve different finishes, refer to our Everyday Guide.
Allow the paint to dry completely between coats. Dry time usually takes about 20 minutes but varies based on climate and thickness of paint application.
Step 2 (optional):
Before applying your glaze, it can be helpful to apply a single coat of Jolie Varnish using a Jolie Flat Brush or low-nap roller. While this isn't necessary for all finishes, it's particularly helpful if applying a darker colored glaze over a light base color. The Varnish will act as a buffer between the your base coat and glaze, allowing you to wipe back excess pigment and giving you more control over the final finish. If you've worked with our Colored Finishing Waxes before, this technique should sound familiar - it's the same idea as applying a coat of Clear Finishing Wax before using Brown or Black Wax.
If you're working with all light colors, all dark colors, or if you are looking to achieve a more heavily glazed effect, you may choose to skip this step.
Allow Varnish to dry for at least 4 hours before proceeding to the next step.
Step 3:
Gently shake and stir Jolie Extender. Bubbles may appear in the product; however, these will dissipate when mixed with Jolie Paint.
Select the color of Jolie Paint you want to use for your glaze. In a separate container, mix 10% - 20% by volume of Extender with Jolie Paint to create semi-transparent colored glaze. A little glaze goes a long way, so we recommend starting with a small amount and mixing more if needed. This ratio will increase dry time by approximately 20 - 40 minutes.
Note: Jolie Paint color will vary when mixed with Jolie Extender, so we recommend applying the glaze in a test spot or to a sample board before moving on to the next step.
Step 4:
A range of tools can be used for application depending on the desired effect, but generally we recommend working in sections and using a brush or soft cloth to apply the glaze over your existing layers of Jolie Paint. Wipe back any excess glaze with a clean cloth.
Repeat steps 3 and 4 until desired finish is achieved. Dry time between coats may vary depending on thickness of application. Multiple paint colors can be used to create a layered effect.
Allow final coat to dry for at least 8 hours before proceeding to next step.
Step 5:
Apply two additional coats of Jolie Varnish, allowing 4-6 hours dry time between each coat. Be gentle with the final finish for two days so that the curing process can begin. Jolie Varnish will take up to 30 days to fully cure and harden.
To maintain your finish, clean surface with mild soapy water and avoid harsh chemicals.
To Create Ultra-smooth Finishes
Mix 5% by volume of Extender to Jolie Paint or Jolie Varnish to increase open time and reduce brush marks. Apply with a Jolie Flat Brush or paint sprayer for best results.
Allow 2 hours to dry to touch and 16 hours for recoat. Wash tools immediately after use with warm soapy water and rinse clean.


